Vision Devices for Reliable Quality Control
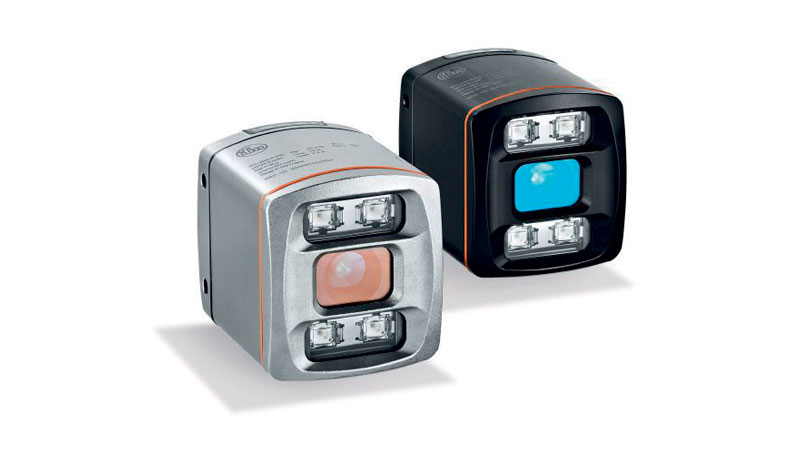
ifm has launched vision devices for in-line quality control, a very important step to avoid production losses in plants. The O3D series 3D sensor is ideal for checking completeness, determining volume and classifying objects; the PDM profiler is capable to detect if a component has been assembled correctly; the O2I series multicode reader, on the other hand, can read single and two-dimensional codes even in critical light conditions.
di Marta Bonaria
The quality of finished products is one of the key elements for the success of a modern company. An inefficient quality control, in addition to failures, set-ups, tooling, speed reduction and micro-stops, is one of the main causes of production losses in plants, so much so as to be one of the parameters for calculating the OEE (Overall Equipment Effectiveness), intended as a percentage of compliant parts compared to the total product. Quality control is divided into various stages throughout the production process. Once the product has been processed in a specific station, before moving on to the next one, it goes through an intermediate step (in-line) during which the product itself is checked. After verifying that what has been done so far is in compliance, it can move on to the next station. Otherwise the product must be discarded.
ifm has launched on the market three devices for in-line control of product quality requirements, suitable for different application needs, which combine extreme solidity and reliability with ease of implementation and use: the O3D 3D sensor, the PMD Profiler and the O2I multicode reader.
Devices immune to external light
The ifm O3D 3D sensor, with PMD technology, detects scenes and objects quickly and in three dimensions: it measures point by point the distance between the sensor and the next surface using time-of-flight (ToF) technology, which makes it immune to external light. The device illuminates the scene with an internal infrared light source and calculates the distance based on the light reflected by the surface. With aluminum body for standard industrial applications or stainless steel body for the food industry, it is used in applications where it is necessary to check completeness, determine the volume and classify objects. It is possible, for example, to determine whether containers, cartons or pallets contain the expected quantity of products. Automatic position tracking ensures stable operation even with variable target position.
Thanks to the free Vision Assistant configuration software, the sensor can be set comfortably and intuitively according both to the different applications and sizes of the objects. For example, it is possible to set various types of packaging and select them without mechanical adjustments. The 3D cameras then check the products according to quality requirements, detecting the objects and obstacles without having to resort to scanning, which would take longer, or making the operator’s visual control unnecessary, all to the advantage of the process efficiency.

Possibility of not complex positioning
In assembly and handling applications, the PMD profiler not only checks the presence of an object, but determines whether the correct component has really been used and whether it has been assembled properly. You just have to press a button to compare the profile of an object with a previously set nominal profile. The optical profiler is capable to reliably detect the smallest differences, even in the case of almost identical components. Since the distance is not a relevant parameter, the PMD profiler does not require complex positioning, as happens instead in the case of 1D sensors. Thanks to the immunity to external light, no additional shielding or lighting is necessary, unlike what occurs in systems with cameras.
Equipped with a color display and three simple-to-use buttons, the sensor is ready for use in a few minutes with no need for specific software. Via IO-Link it is possible to transmit information on both the correct profile detected and the degree of correspondence of the preset profile. It is also possible to optionally view the profiles via software to simplify the analysis of waste.
To determine the differences in the case of almost identical components in a more reliable way, using the Region of Interest function, the profiler analysis can be limited to the relevant area of the object by means of two green markers on the visible laser line. In Fixed mode, the function can be used to check the exact positioning of an object. In floating mode, the profile is compared in a variable way along the laser line. It is therefore not necessary to position the pieces to be checked exactly in the same way. The correspondence between the reference object and the final object is transmitted as a value ranging 0-100%. Thanks to the Threshold function it is possible to define the threshold value that detects a piece as acceptable or unacceptable. A low tolerance value thus guarantees the quality of assemblies requiring maximum precision.
Simple or more detailed configurations
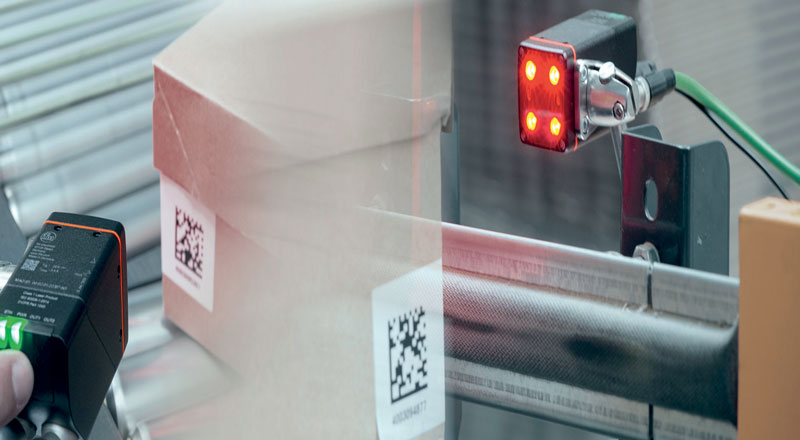
Modern multicode readers such as ifm’s O2I series devices can reliably recognize different types of one or two-dimensional codes even in critical light conditions, regardless of whether the code is printed on a label, engraved on the surface or applied in any other way. Integrated lighting (red or infrared) and different lenses make multicode readers suitable for almost all industrial applications.
Simple applications with a code per image can be configured quickly via the integrated Teach button. The default settings of the device can be changed using an intuitive smartphone application developed by ifm for iOS and Android. For complex identification operations, the multicode reader can be configured in more detail using the Vision Assistant PC software, which includes an automatic search function to recognize different codes in an image.

