A System for Automatic 3D Inspection
With the In-Sight 3D-L4000 from Cognex, inspecting parts in 3D is as easy as using a 2D smart camera. The new technology brings high image quality, simplified application development, and a wide range of tools to be used
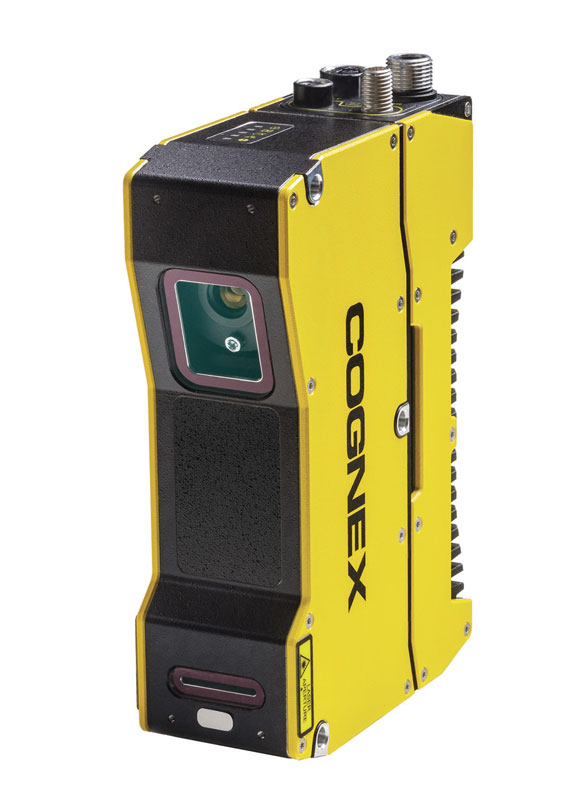
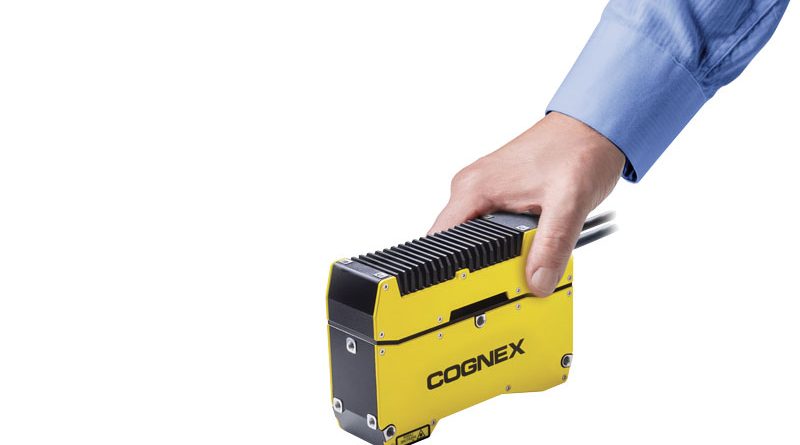
When it comes to inspecting parts, you can choose from several established technologies. If the decision is made in favor of machine vision, the question arises: do you need an inspection in 2D or 3D, and how much effort is required to implement the respective solutions? Depending on the application, a proven 2D system is then often the first choice, even if the advantages of 3D image processing may be clear. In Cognex’s opinion, there are two reasons for this. The first one: three-dimensional vision inspection was simply too expensive and complicated for most companies, and there were also few vision tools that worked with true 3D images. So, an additional PC had to be installed to actually solve the application, resulting in more space and programming requirements. The second reason: 2D inspection with a smart camera works very with great ease of use. Therefore, in many cases, there is no real need to make the costly and difficult transition to a 3D inspection system. The new 3D vision system from Cognex makes inspecting parts in 3D as easy as using a 2D smart camera. We are talking about the In-Sight 3D-L4000, that expands the range of applications in industrial automation, and has image processing already integrated in the system. Cognex’s new technology brings better image quality, simplified application development, and a wide range of 3D inspection tools.

A comprehensive suite of three-dimensional vision tools
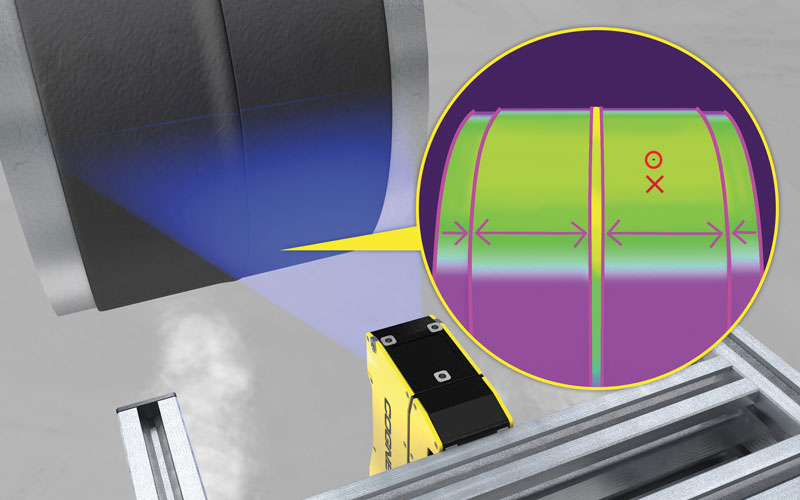
The In-Sight® 3D-L4000 is a smart camera that enables engineers to solve a range of inline inspection, guidance and measurement applications on automated production lines quickly, accurately and cost-effectively. It offers a comprehensive suite of true 3D vision tools that are as easy to use as Cognex’s industry-proven 2D vision tools, thanks to the In-Sight spreadsheet environment. In addition, the speckle-free blue laser optics enable the capture of high-quality 3D images. Users of 3D image processing are probably familiar with this: typically, 3D imaging systems struggle with speckle – light effects that occur when laser light is scattered from the surface of the part back to the imaging system. Speckle is a problem in existing 3D vision systems, because it changes the appearance of the part and reduces image accuracy. The system can only estimate where the laser is located. However, the type of laser used in the In-Sight 3D-L4000 eliminates speckle by using a special laser in the blue light range. As a consequence, the imager sees a clear laser line, resulting in higher accuracy 3D images. In addition, the laser provides its own illumination for both 3D and 2D images – the system does not require any external light.

Performing 3D point cloud inspections without an external controller
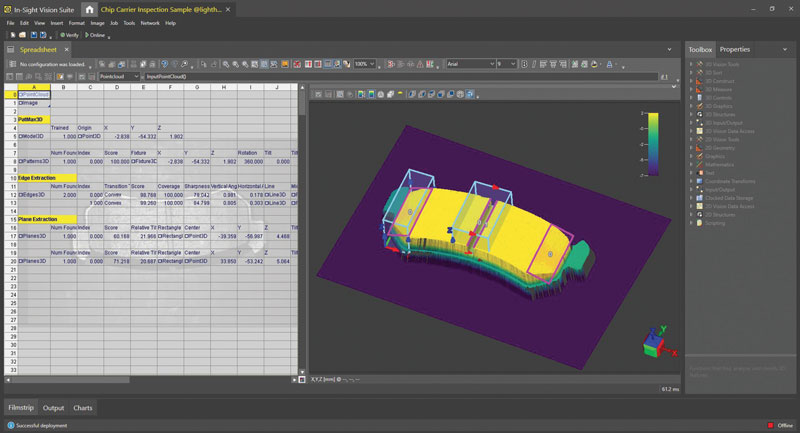
In most traditional laser-based 3D vision systems, the laser head captures an image that is sent to a PC for processing. At the same time, they offer a limited selection of tools, most of which can only be used for simple height measurement. The dependence on PC programming makes 3D inspections cost-effective only for very complex applications. The In-Sight 3D-L4000 has its processing power built right in. This allows the vision tools to perform 3D point cloud inspections without the need for an external controller or third-party PC-based software. Moreover, with onboard processing, image analysis can be completed in a very short time. In the past, 3D visual inspection was difficult to understand and use. Most existing systems transform 3D data into 2D images. In doing so, the height of a point is represented as a gray value. So to understand the height information, one uses a false color representation of the rasterized 3D image in the 2D image. In this representation, it is very difficult to see and successfully process the nuances of the 3D part. A common method is to convert a section of the rasterized 2D image into a 1D height profile. However, with the new technology used in the 3D-L4000, the image is a pure point cloud; what you see and evaluate is a true 3D image, not a reduction to a 1D height profile.
The 3D tools are designed so that everyone can fully understand and use the new three-dimensional tools. In other words, you are essentially doing the same thing, but unlike before, you are working on an image that looks exactly like the part itself.

There is no need for programming or external processing
Another new feature of the In-Sight 3D-L4000 is the use of the intuitive In-Sight Spreadsheet development interface, to quickly and easily set up and run 3D applications without the need for programming or external processing. It simplifies application development and streamlines factory integration with a complete I/O and communications feature set. It also allows 2D and 3D vision tools to be combined in the same application, resulting in faster deployments. The In-Sight 3D-L4000 includes all the traditional 3D measurement tools expected, such as for plane and height determination. In addition, it has a comprehensive set of 3D vision tools such as PatMax3D, Blob3D, 3D Geometry and many more, designed from the ground up for inspections in a real 3D space. This makes it easy to measure or identify parts or irregularities on the surface, as well as gaps, edges and angles – even for parts with complex geometry such as pistons or hinges.
Many sectors of applications
The new 3D-L4000 is ideally suited for a wide range of applications in a number of industries, including food and beverage, consumer products, packaging, automotive, medical devices and electronics. Its ease of use and the fact that no external PC, and therefore no programming skills, is required for setup and processing finally, makes laser-based 3D imaging a viable option. Automation engineers can have the choice between 2D and 3D.

