Accurate in-process hardness measurement
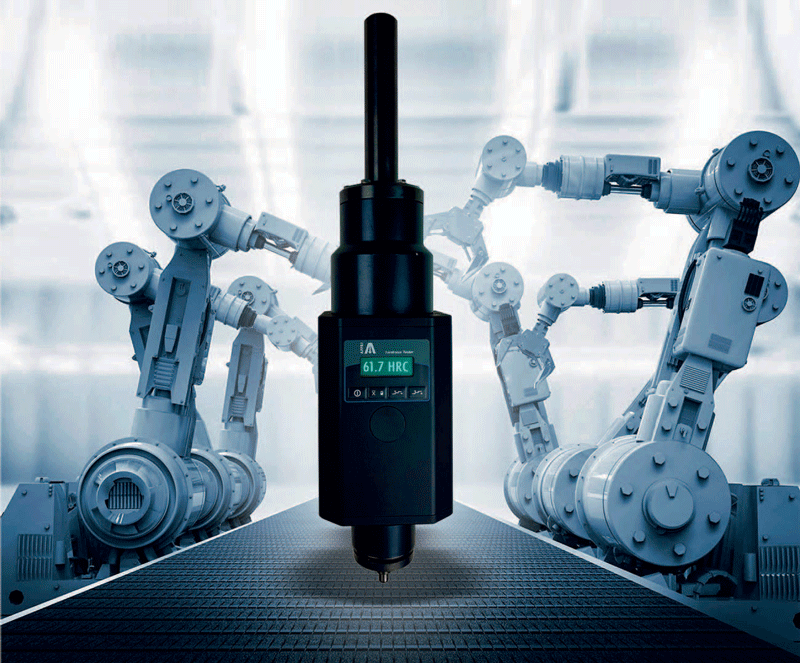
With the Explorer hardness tester, Affri offers a portable instrument for in-process hardness measurement of parts, including large and complex shaped parts. The instrument achieves the same accuracy as laboratory hardness testers, with the added advantage of being portable.
Affri has been manufacturing hardness testers since 1954. Today the “Affri® System», consisting of a hardness tester combined with an innovative device, is protected by a number of patents following its technological evolution. The increase in operating performance has been achieved through the use of a control load cell inserted in a patented closed circuit. In addition, the hardness tester is fully automatic: in Rockwell and Brinell tests, a single control starts and activates the approach and execution phases of the test – without interruption. The power supply can be either mechanical, electromechanical, hydromechanical or pneumatic/mechanical.

The tester reaches everywhere, and collects data in real time
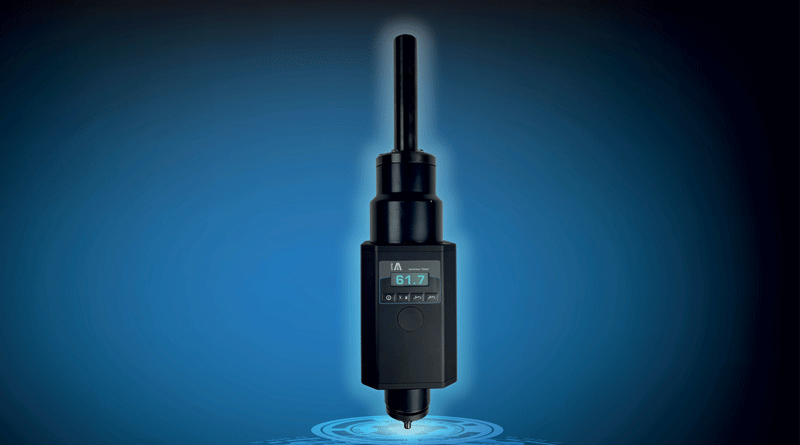
In these pages we focus on Explorer, an instrument that achieves maximum precision in every hardness test. Roberto Affri, owner of the company, explains: “Explorer was born from Affri’s experience in the construction of automatic hardness testers. It is a compact probe, consisting of a sensing unit and a data receiving unit that communicate via a wireless connection. The instrument combines all the features of ISO and ASTM certified hardness testers and has the same measuring accuracy and validity as laboratory hardness testers. Unlike laboratory hardness testers, however, it does not need a fixed structure and, thanks to its portability, can be easily fitted into CNC machines as if it were a common tool. Furthermore, the machine on which it is mounted does not require any specific software, but the machine software itself positions the instrument using a common motion system consisting of X, Y, Z and rotation axes, to reach any measuring point during the machining cycle. The measurement is transmitted via radio to the reading unit combined with the instrument”.
Multiple benefits in a compact instrument
The advantages are numerous. First of all, the possibility of reaching hard-to-reach areas with an accuracy of a hundredth of a millimetre or even a micron. Secondly, the acquisition of the measurement data in real time during the machining cycle without having to move the part from the machine to the measuring department. Last but not least, the ability to measure large parts that would otherwise require bulky and/or expensive equipment. Explorer represents a new approach to hardness measurement,” concludes Roberto Affri. It is the first probe of its kind on the market. Our customers already include multinationals that have purchased it to measure very large parts, even those with complex shapes, for example in the naval and aerospace sectors, or in the oil and gas sector for process valves.
It can also be used as automatic equipment
Explorer can also be used as automatic equipment for process control. In this case the PC can be positioned up to 30 metres from the instrument for better workplace ergonomics. The analysis software features a friendly graphical interface allowing users to select the test scale, to modify tolerances, to switch to other scales, to generate curves, graphs, updated statistics as well as automatic test records in real time.

