Automated quality control increases productivity
Creaform, a Division of AMETEK, presents its latest automated quality control solutions, such as the R-Series of robot-mounted optical CMM scanners or industrial scanners for non-contact 3D measurements. These solutions can help users speed up time-to-market and optimise production.

Creaform, a Division of AMETEK, the specialist in portable and automated 3D measurement solutions, presents its latest automated quality control solutions at MECSPE 2021. Designed to address major challenges in global manufacturing, automated dimensional quality control technologies enable manufacturers to increase their productivity. The global manufacturing industry is faced with projects with more complex parts and assemblies than ever before. Measuring constantly changing shapes, dimensions, finishes and geometries has become a common daily activity. New Creaform technologies are designed to address the root causes of productivity problems. Offering speed, accuracy and resolution, versatility and simplicity, the new automated quality control solutions can address complex problems such as lack of speed and skilled labour.

Non-contact 3D scanners accelerate time-to-market
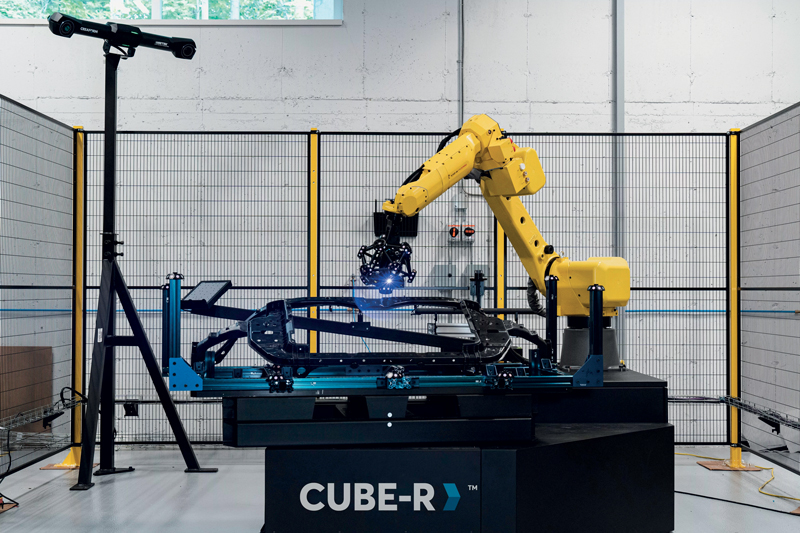
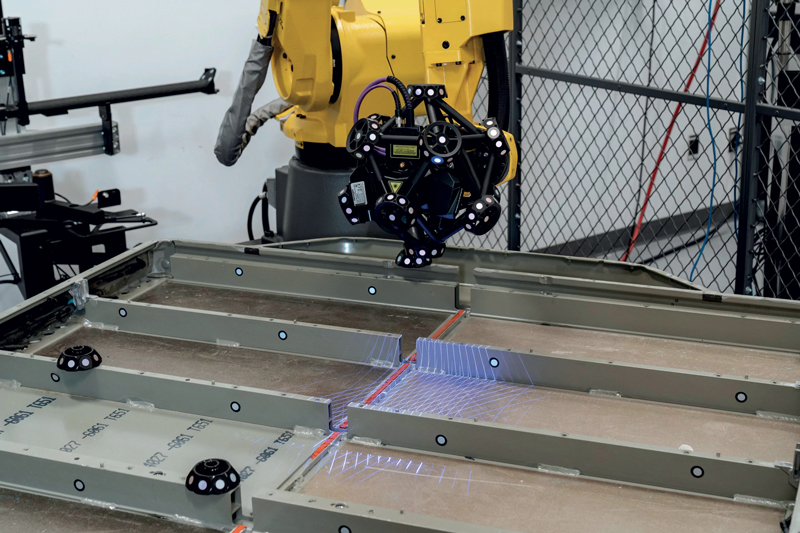
With the R-Series of robot-mounted optical CMM scanners, including the new MetraSCAN-R BLACK, CUBE-R and VXscan-R software, manufacturers can significantly increase their productivity by detecting and resolving quality issues faster based on improved statistical analysis. In this way, they can more proactively implement corrective measures to mitigate total quality costs and unprofitable recalls.
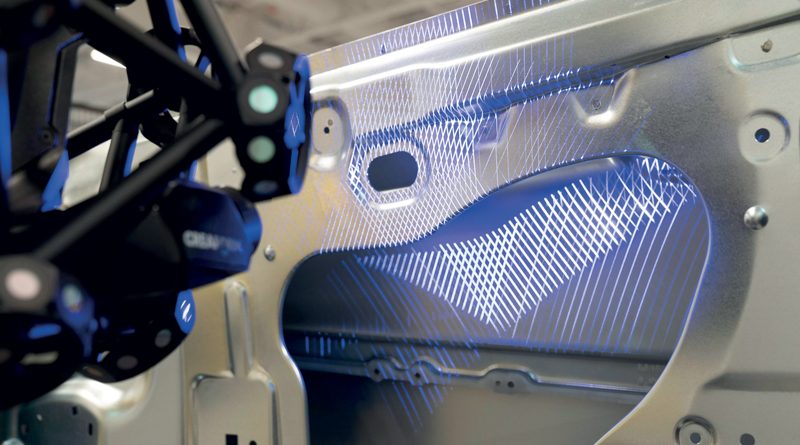
Creaform also presents the HandySCAN BLACK, MetraSCAN BLACK and Go!SCAN SPARK industrial scanners for non-contact 3D measurements. These portable 3D scanners are designed to accelerate time-to-market and help meet the requirements of quality control and inspection, reverse engineering and product development. 3D scanners can help you gain a competitive advantage, reduce time and costs associated with product development and optimise manufacturing processes. Achieving an accuracy of up to 0.025 mm, they can be used directly in manufacturing environments.

