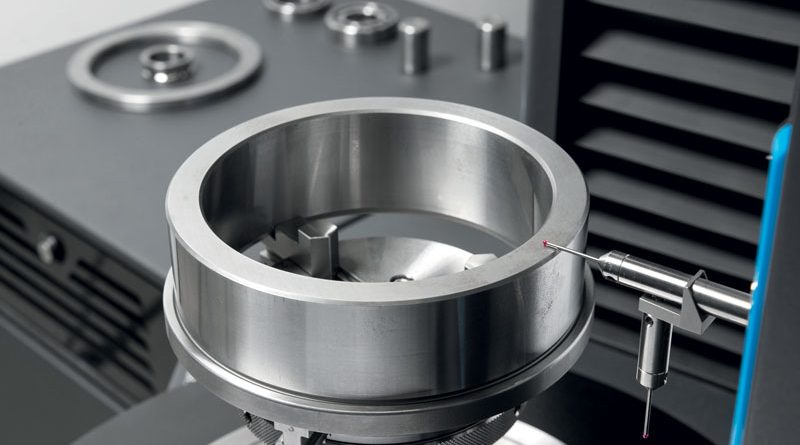
Precision Measuring of Complex Components with the G Variant
Klingelnberg Centers of the G variant make complete measurement of complex components, such as turning blanks, ground workpieces, or rolling bearings, much easier. The latest center, named P 40 G, is specifically designed for use in the production process of rotationally symmetrical components.
by Alma Castiglioni
Stringent precision requirements in series production and increasing component complexity – both call for the best available measuring technology. The Precision Measuring Centers of G series are optimally matched to a production processes that require not just dimensional measurement tasks but complex form and surface measurements in large numbers. This makes the P 40 G appealing for the automotive and commercial vehicle industry, for machine building and plant engineering, and for manufacturers of rolling bearings.
Accurate measurements of rotationally symmetrical components
Like all Precision Measuring Centers from Klingelnberg, the G variants stand out for their patented, high-precision 3D NANOSCAN probe system as well as their easy-to-use roughness probe systems for external and internal measurements. The new hybrid measuring and testing technology, comprising tactile and optical measurement, has become an essential pillar of efficient, smart production concepts. The precision measuring centers of the G series are to a production process optimally matched Klingelnberg P series Precision Measuring Centers are used throughout the world for accurate measurement of gears and high-precision, rotationally symmetrical components. They deliver reliable measuring results even in a manufacturing environment and can be implemented along the entire production chain. The G variants – the P 40 G Precision Measuring Center, for example – are the only machines in the P series to be equipped with software for dimension, form, and position measurement as standard. Among other things, the software determines diameters and distances, and measures cylinder and cone shapes, face runout and concentricity, roundness, surface flatness, and angularity. It can also perform a Fourier analysis on rotationally symmetrical components.
By capturing scanned contours at all levels of an automatic process, it also enables measurement and evaluation of complex structures. These Precision Measuring Centers of G variant are thus able to replace gauges, coordinate measuring machines, and form measuring instruments. As a result, the P 40 G performs the measurement tasks in an entire test chain, where multiple measuring machines are traditionally used. This universal solution from Klingelnberg opens up new possibilities for rotationally symmetrical components both in terms of quality assurance and with respect to automation.
All the functionalities offered by the new software
The new functional diversity of the EasyStart software serves as the basis for this. The software delivers a broad range of information for quality management on the one hand while also enabling efficient process control and reliable management of production processes. After each manufacturing step, every feature can be immediately displayed graphically or in table format, analyzed, and statistically evaluated – and every measuring result can be permanently assigned to a component by means of a scanner and coding (DMC, bar code, or QR code, for example).
The basic software also includes storage of statistical data for further evaluation, such as warning limit specifications.
An Industry 4.0 concept can be realized through active forwarding and processing by means of existing interfaces to Klingelnberg GearEngine®. Such solutions are a key ingredient in success, particularly in times of highly accelerated innovation cycles and increasingly stringent requirements.

